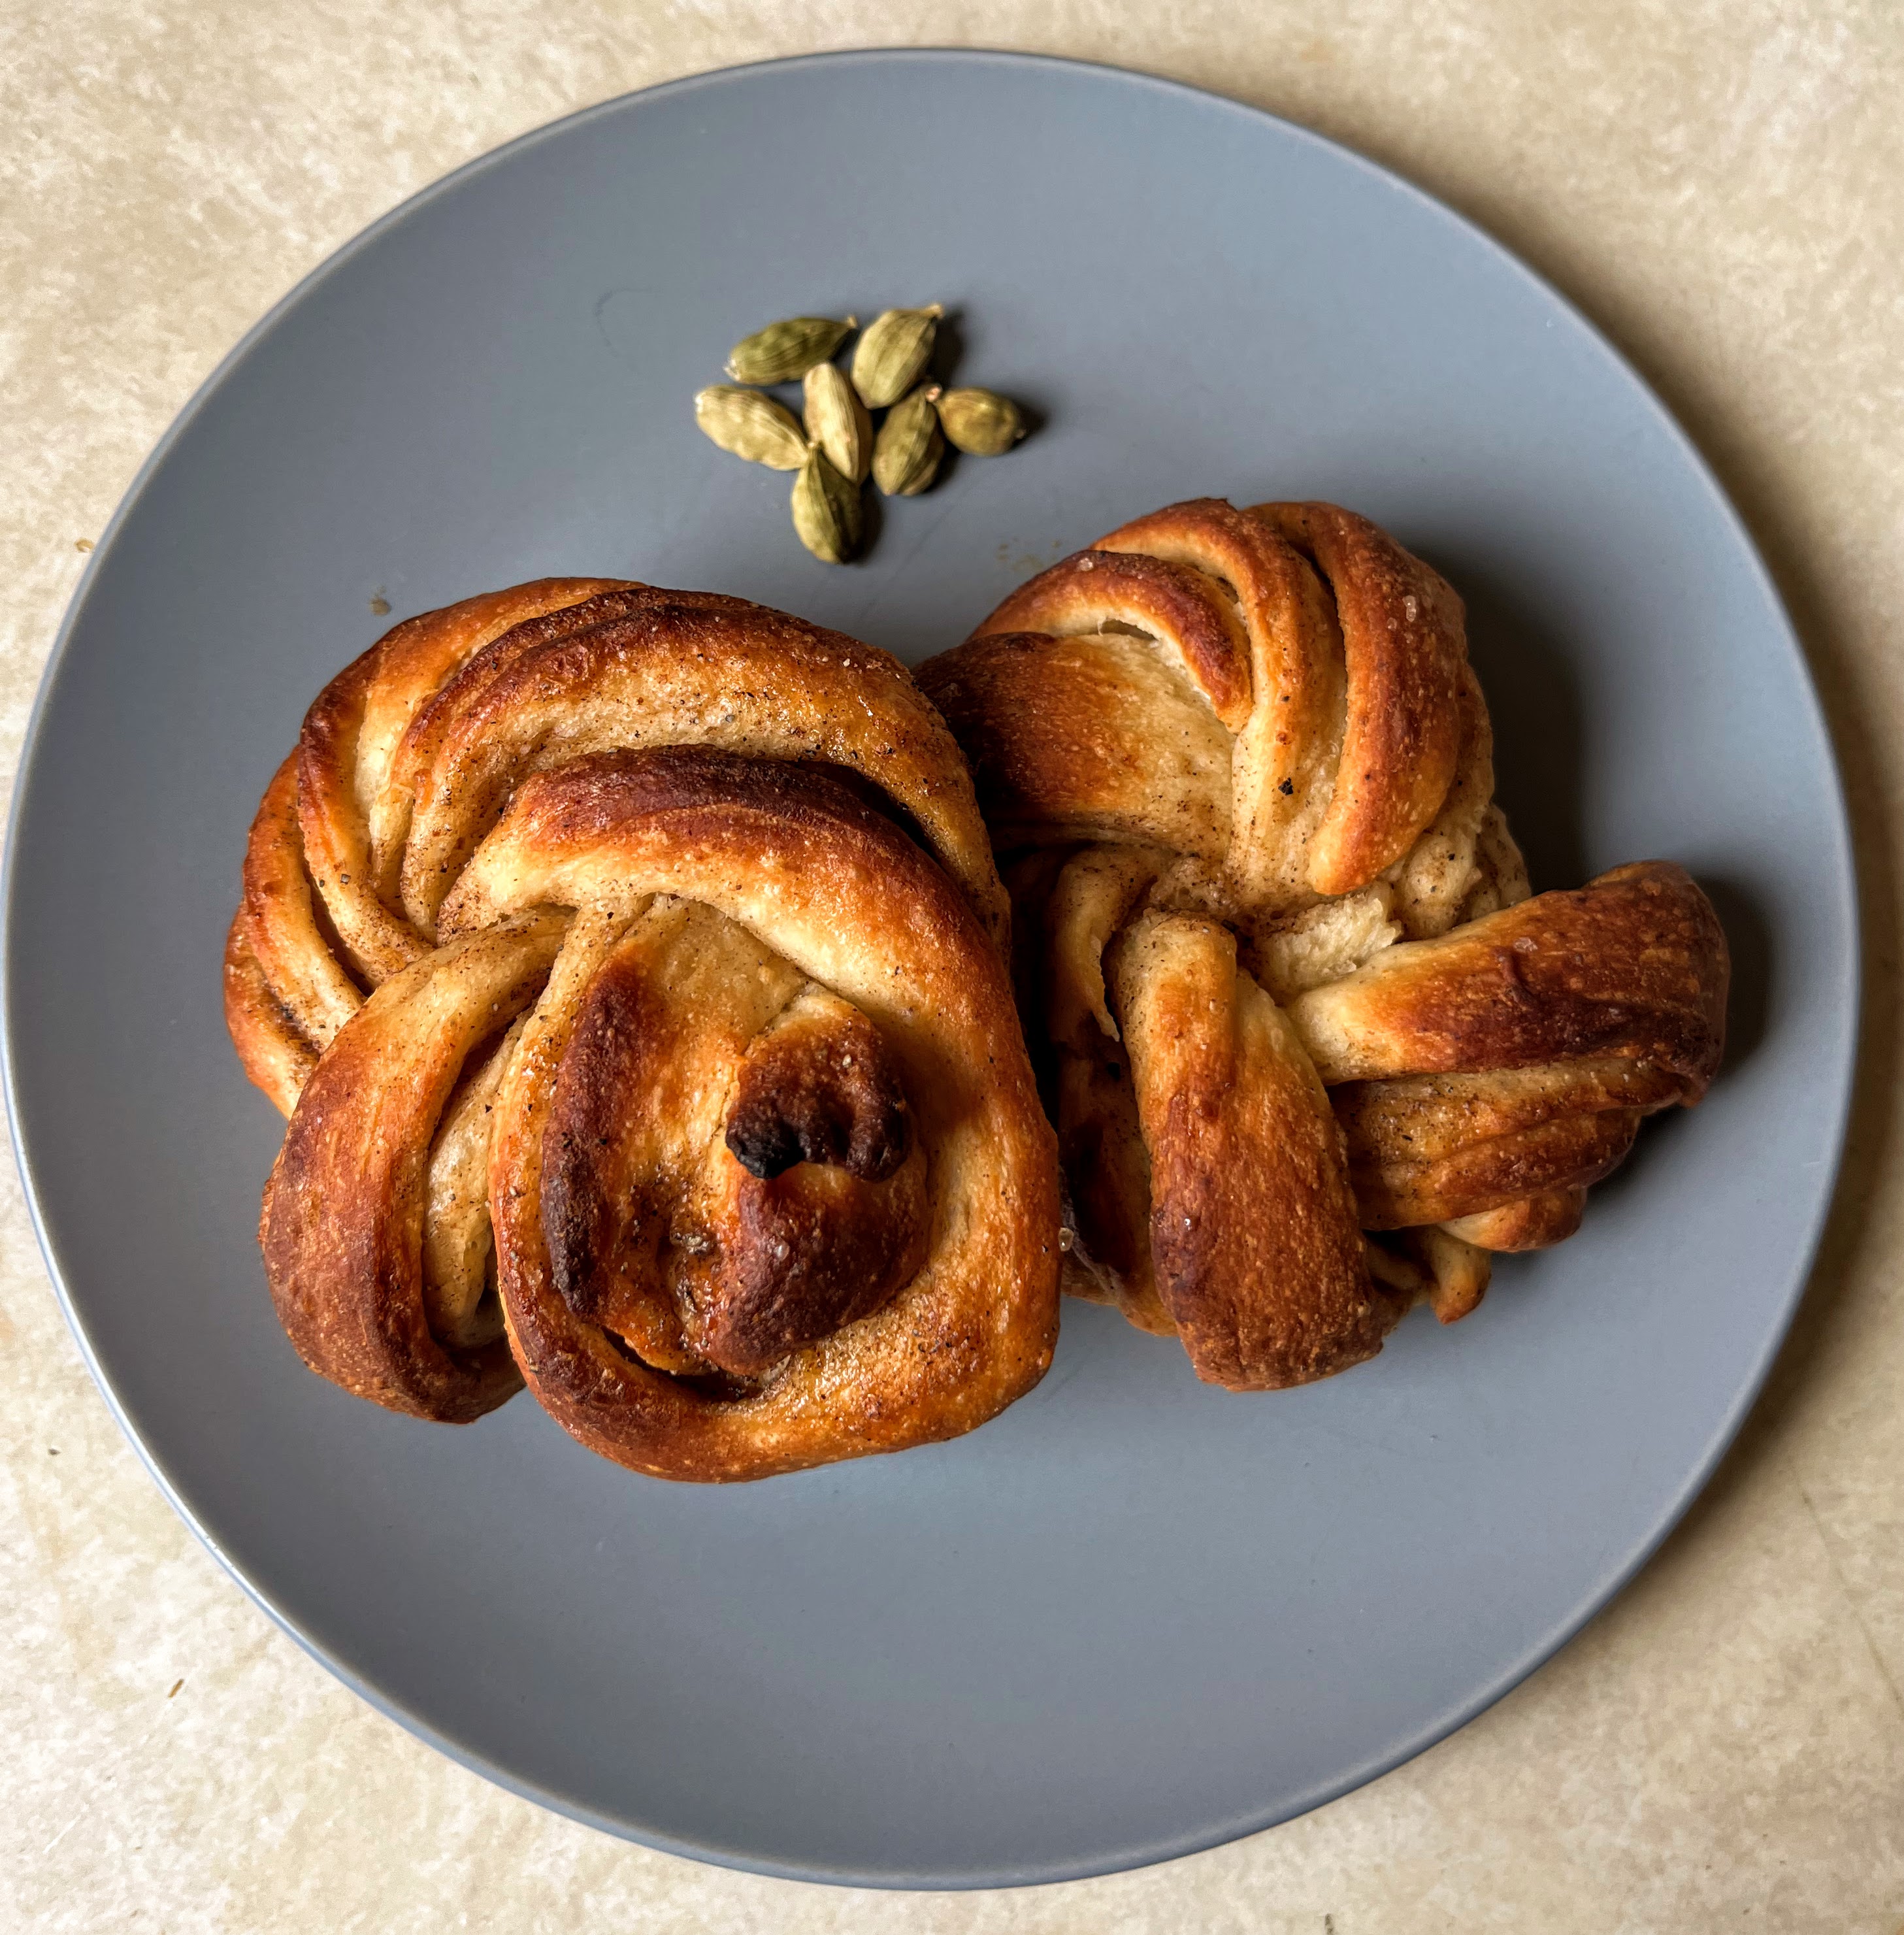
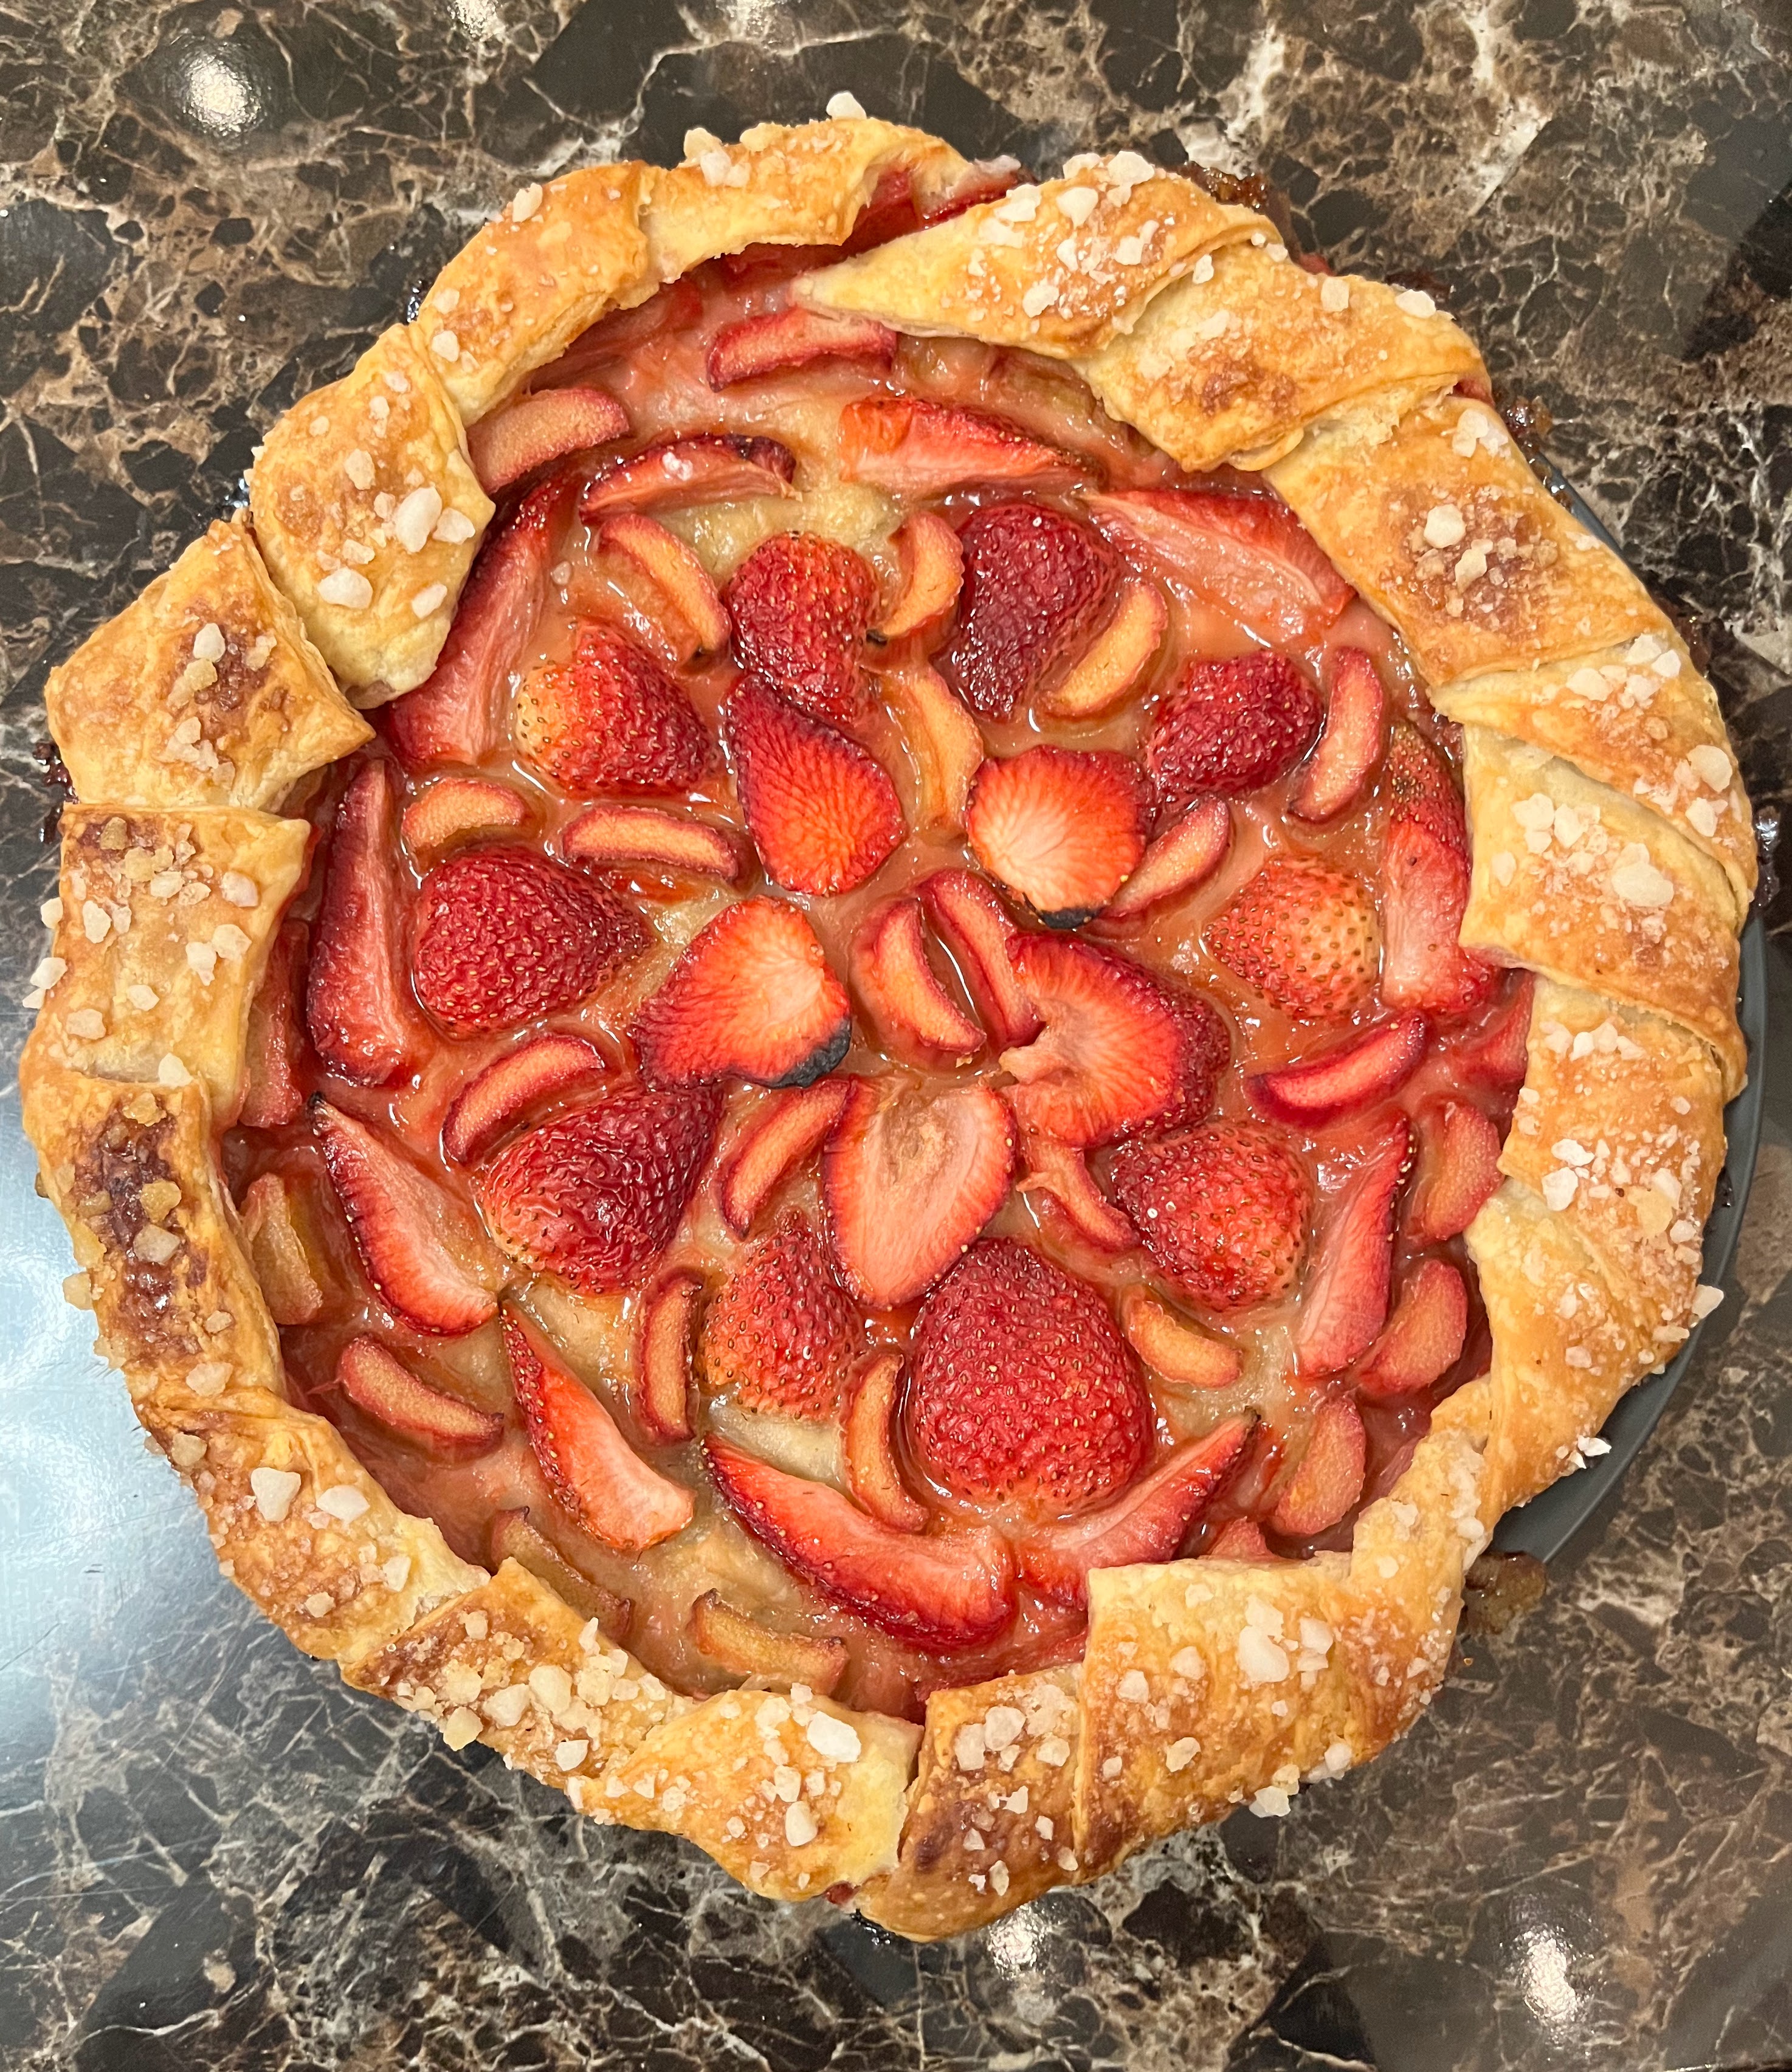
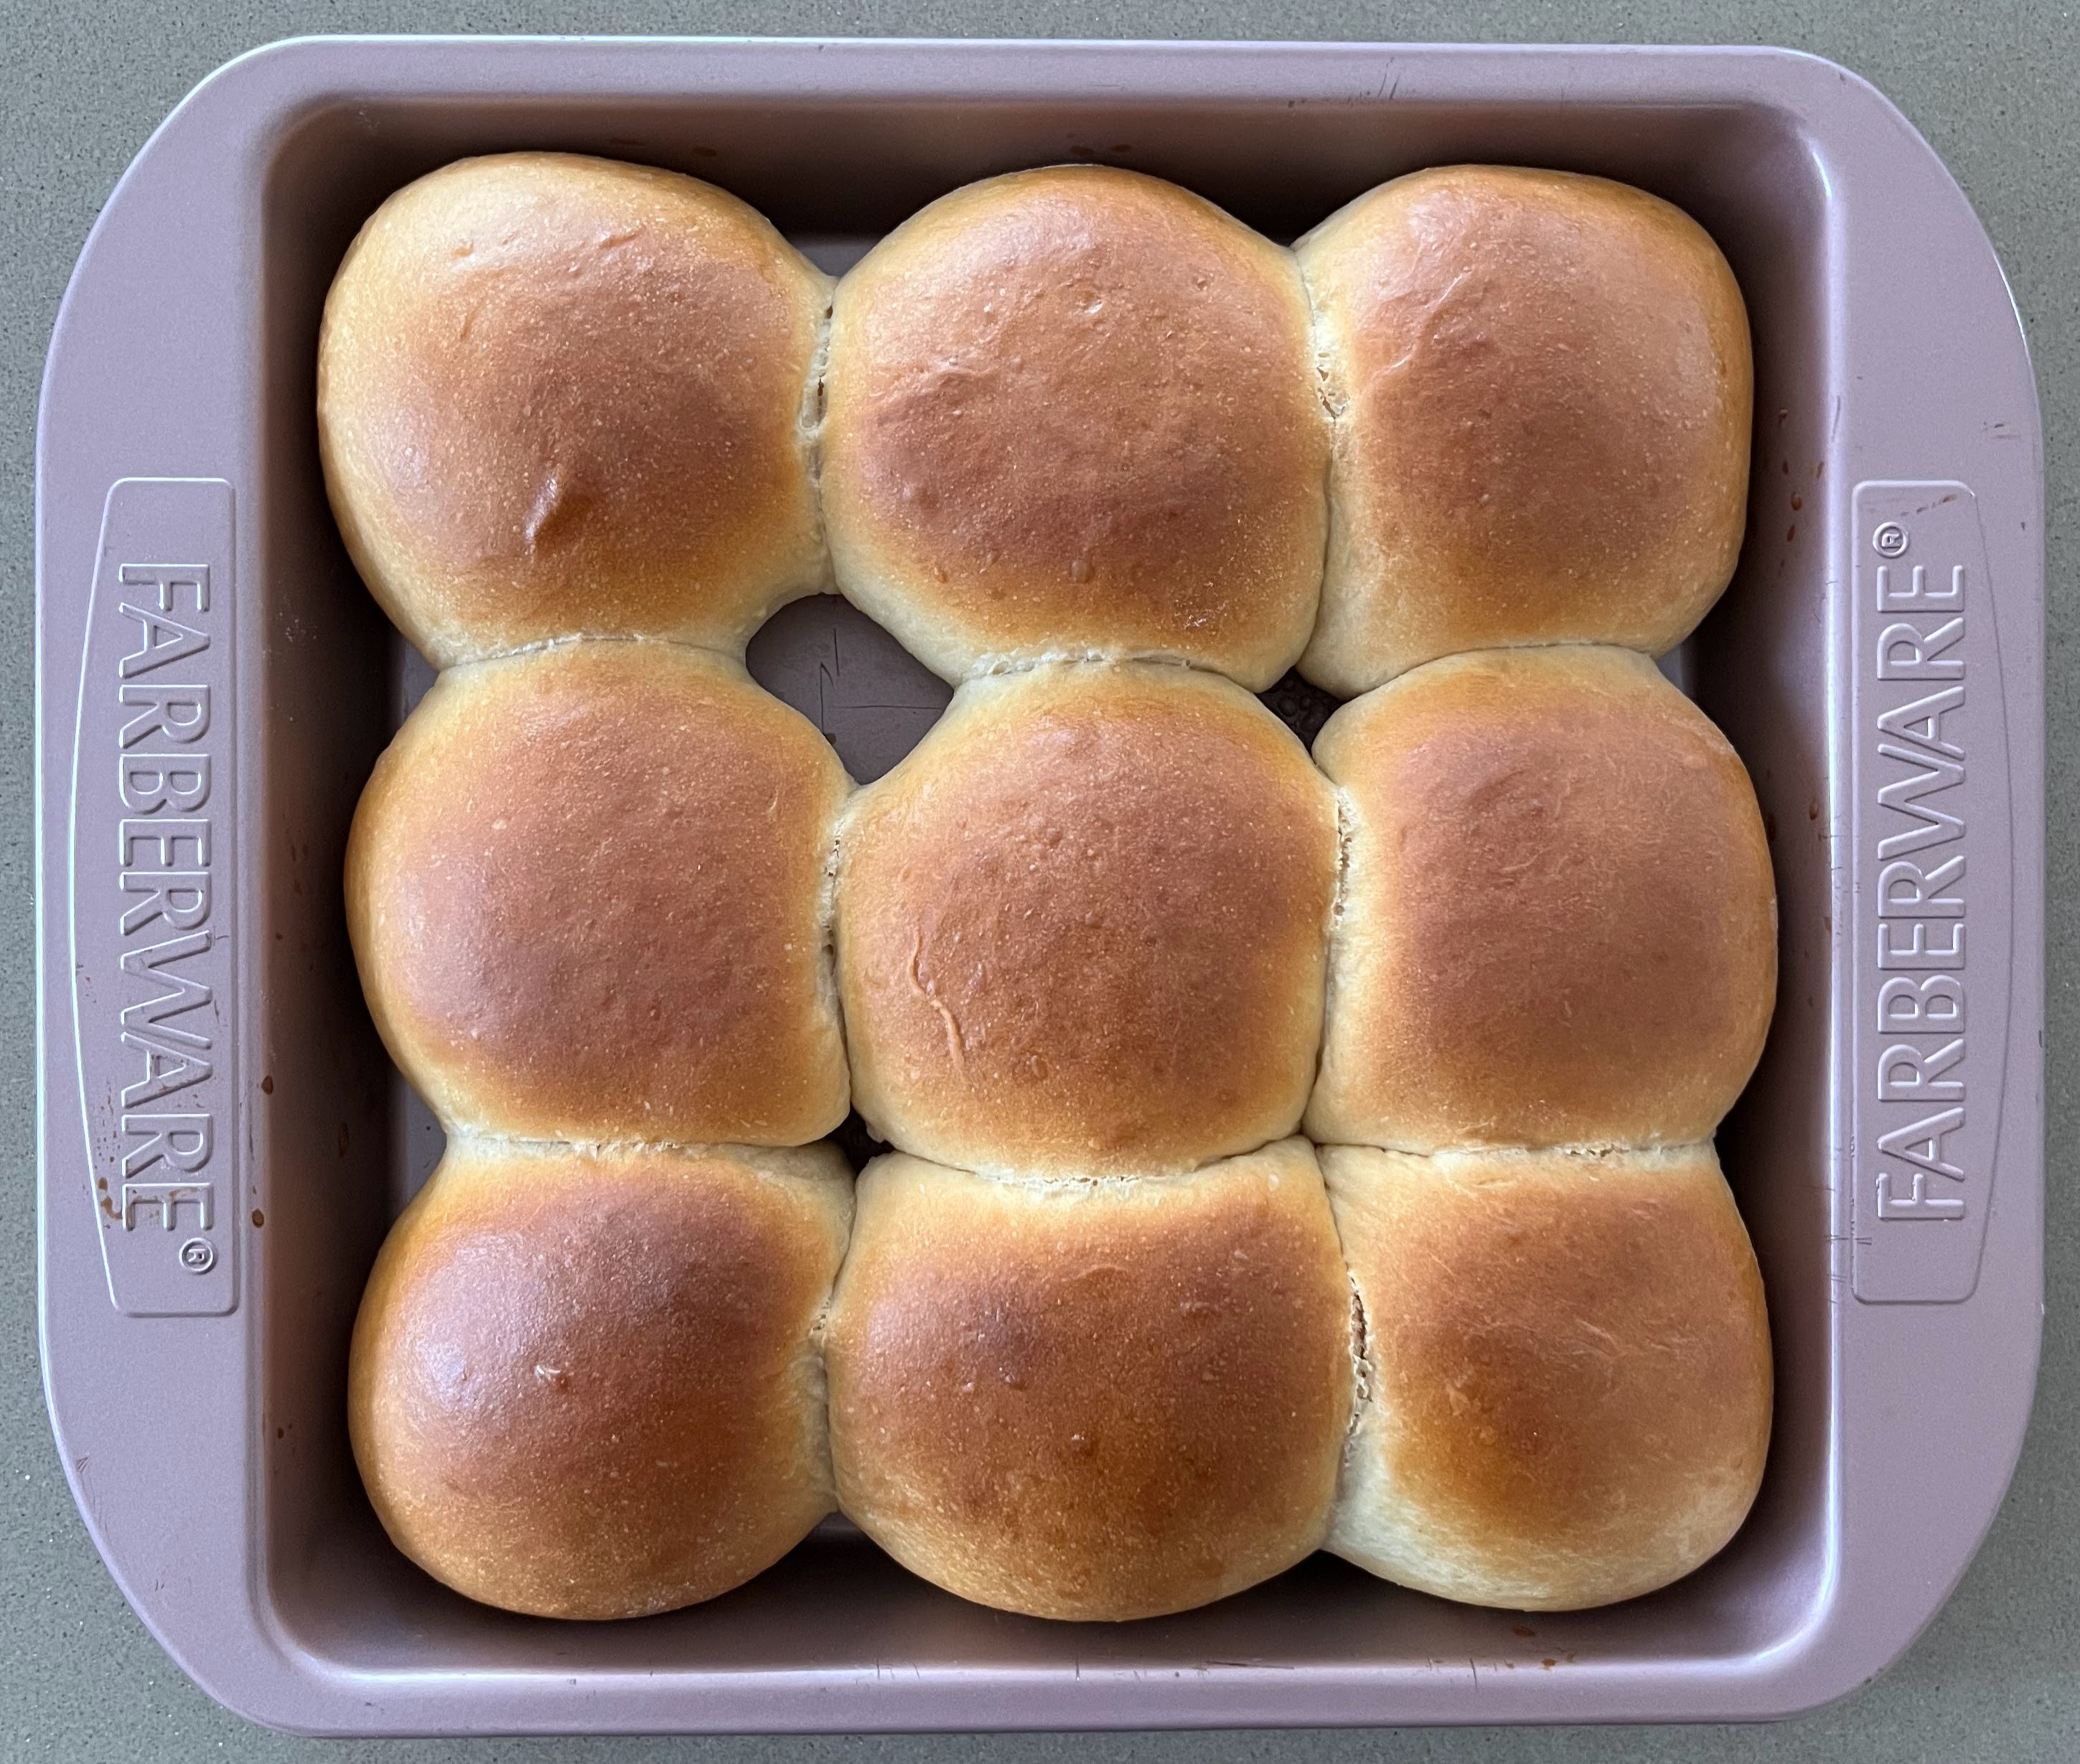
I caught the baking bug in the fall of 2021, when it seemed like every other day I’d find inspiration to make something new (thanks, Instagram Reels). Specific recipes and ingredients come and go with the seasons and cravings, but there are a few great techniques that I’ve found myself returning to again and again. I wanted to share three simple methods that have dramatically improved entire categories of my baked goods (pies/galettes, enriched breads, and cookies, respectively).

1. High-butter pie crusts for consistent, no-fuss flakiness
When I started making pie crusts, I could never roll them out without the dough cracking and breaking. If I did miraculously get it thin, it would break on its way from the counter to the pie pan. The reason: most recipes urge you to use as little water as possible and to avoid over-kneading when bringing the dough together. More water or kneading will strengthen the dough’s matrix of gluten proteins, therefore risking a tough and leathery pie crust.
You could probably keep trying these recipes and eventually learn enough tricks to work things out, but I’ve found an easier solution: use more butter than usual. This idea came from Stella Parks at Serious Eats. She calls for equal parts butter and flour, rather than the standard ratio of about 0.8-to-1 butter-to-flour (by mass). It’s a seemingly small change, but it makes a large difference: butter promotes tender flakiness, and inhibits gluten formation. So, with more butter, you can get away with using enough water for the dough to come together in a breeze, and you can work the dough as much as you need for it to form into a structurally-sound mass. This step will indeed produce gluten, adding strength to the dough that makes rolling it out & shaping less stressful. But, because the dough is marbled with so much butter, your crust still bakes up tender; the gluten is cordoned into small patches, and so the end result is flaky and not tough.
Stella’s recipe is painless compared to so many others, and I’ve achieved good results with most pastries in the pie family: open-face pies, lattice pies, galettes, hand pies, and tartes.

2. Tangzhong for perfectly moist and soft brioche-style breads
Breads, rolls, and buns made from enriched doughs are some of my favorite things to eat, when done well. Baking them at home can be impractical though, because they typically lose quality within hours. Using a tangzhong – a milk-based roux dough starter – helps dramatically. This technique yields softer, more pillowy breads, and it keeps them fresh and moist for longer. Tangzhong-like methods have been used for a long while in Asia, famously in Japanese milk bread, and they’ve been diasporized in the last couple decades thanks to authors like Yvonne Chen and Christine Ho.
A tangzhong is a paste of a small amount of flour mixed with hot milk. Flour usually can’t take up much water, but at higher temperatures (65°C / 149°F), the intermolecular bonds between starch molecules break down. These starch molecules are then exposed, and they can be fully dissolved by water molecules, yielding a thick, wet paste (gelatinization). Tangzhong-based doughs therefore retain more moisture than usual throughout the entire baking process. Once the dough hits the oven, it puffs better due to increased steam production from the extra water, and the finished product stays fresh longer: pregelatinized starch doesn’t stale as easily.

To use a tangzhong, it’s as simple as adding the warm roux to the rest of the ingredients and kneading as normal. Some recipes are already written accounting for this step, such as this excellent cinnamon roll one. It’s a great place to start, and you don’t even have to use a cinnamon filling: once you roll out the dough, it’s a blank canvas. I’ve done guava-cream cheese and rhubarb-cardamom fillings. Other form factors which frequently use tangzhong are dinner rolls and loaves of white bread.
My point, though, is that every enriched dough is better with a tangzhong, not just these specific ones. I had some existing favorite recipes that I wanted to tangzhong-ify (Swedish cardamom buns, pineapple buns, etc.), so I followed King Arthur Baking’s guide – you’ll need to work with gram measurements (as you already should’ve been), but it’s straightforward. I’ve summarized the steps here, in case you don’t feel like clicking away:
- Increase the total amount of liquid in your recipe by 25% (we’re using the tangzhong to work in more water than usual, and without doing this the bread will not rise properly).
- Reserve 5-10% (I use 8%) of the total flour for the tangzhong. Reserve 5x as much milk (by mass) for the tangzhong.
- Make the tangzhong by heating milk in a microwave or saucepan to a soft simmer, and then whisk in the flour.
- Add all remaining ingredients to a bowl, and knead in the tangzhong.
Example: I had a cardamom bun recipe (see bottom of post) which called for 200g flour, 120g milk, and several other ingredients. To adapt the recipe, I increased the milk to 1.25 * 120g = 150g. I wanted to use 8% * 200g = 16g flour for the tangzhong, which I mixed with 16g * 5 = 80g of milk. I mixed the remaining ingredients, including the (200 - 16) = 184g of flour and (150 - 80) = 70g of milk, and then added in the tangzhong paste to form the dough.
This process is much simpler as a graphic (thanks Sammi for making it):

3. Completely customizable cookies
When I first started making cookies, I would hop aimlessly from recipe to recipe, trying to find the one that hit all my preferences. My ideal chocolate chip cookies (CCCs) generally have crisp edges, a craggy texture, and a chewy center, but I could never seem to get them all to coincide.
Stumbling into J. Kenji Lopez-Alt’s guide to cookie engineering was quite the miracle. His 2014 tour-de-force tests every variable one can think of in a cookie recipe: the ratio of butter to flour, baking soda vs. baking powder, the oven temperature, etc. It’s everything I would do myself if I had the patience or dedication. The results are shocking: as Kenji puts it, “when it comes to cookies, apparently EVERYTHING MATTERS.” He concludes with his rendition of the best CCCs, but as he notes, the greater prize is the power to tailor a recipe yourself. You can basically take any recipe from a reputable source, do a test batch, and turn some knobs based on Kenji’s experiments to get exactly what you want. Definitely read Kenji’s full post, but here are my favorite quick tips I’ve learned:
-
Want your cookies to be flatter and tenderer?
Solution A: Increase the butter by 10-15%.
Solution B: If you’re using brown sugar, you can also omit and replace it with white sugar to yield thinner, crisper results. -
Want your cookies to be denser and chewier?
Solution A: Increase the flour by 5-10%.
Solution B: Use melted butter (or liquid browned butter) instead of creaming the butter and sugar. -
Want your cookies to have a more craggy, non-uniform surface?
Solution A: Don’t over-knead your dough! Mix in the flour just until the dough comes together.
Solution B: Use baking soda instead of baking powder. Baking soda needs something acidic to react with, so make sure there is some brown sugar in your recipe (or a pinch of cream of tartar).
Solution C: Don’t fully dissolve all the sugar. Add half your sugar with the wet ingredients, and add in the other half with the dry ingredients. -
How does oven temperature affect results?
A higher temperature sets the cookie’s structure faster and prevents further spreading, whereas a lower temperature will promote flat, wide cookies. Try changing the temperature by 20C / 40F up or down if you want your cookies to be taller or flatter, respectively.
Using these techniques, I’ve narrowed in on my favorite CCC recipe by slightly modifying Kenji’s: 10% more flour and baked at 360F instead of 325F. The results have crisp buttery edges, satisfyingly chewy centers, and great textural contrast along the surface.

I’ve also found these principles easily applicable to other kinds of cookies. For example, last December, I was craving chewy, dense molasses cookies, inspired by the ones from Sofra Bakery in Cambridge. Surprisingly, I wasn’t happy with the recipes from NYT Cooking or Bon Appetit; though the spiced flavor was nice, the cookies were smooth, tender, and cakey. So, I made three changes: (1) melt the butter instead of creaming it, for denseness instead of airiness; (2) fully dissolve half the sugar in at first, but roughly dissolve the other half in at the end, for a craggier texture; (3) use baking soda instead of baking powder, for less uniformity and cakeyness. I also changed the flour/butter ratio a slight amount, and baked at 50F higher. This might all sound complicated, but this updated recipe was no harder to execute than the original, and it’s very satisfying to be able to learn from your initial results to produce a result that you are happy with. That isn’t always easy in baking, so I’m thankful that Kenji’s guide makes it possible, at least for cookies.
I hope you find these little tips useful. In case you’re interested, below, I wrote up two of the recipes that I adapted, for cardamom buns and molasses cookies. Happy baking, and always happy to discuss anything further!
Recipe: Cardamom Buns (makes six large, or twelve small)
Dough:
- Tangzhong: 60g milk + 12g flour
- 200g all-purpose flour
- 3g / 1 tsp yeast
- 30g / 2 tbsp light brown sugar
- 0.5 tsp ground cardamom
- 0.25 teaspoon salt
- 90g milk
- 30g / 2 tbsp softened butter
Filling:
- 60g / 4 tbsp softened butter
- 60g / 4 tbsp light brown sugar
- 1 tsp freshly ground cardamom (from ~10 pods), or 2-3 tsp ground cardamom
- Pinch of salt
Steps:
- For the tangzhong: heat the milk to a bare simmer (microwave 30-60s) and stir in the flour, whisking away any lumps.
- If using a stand mixer: add the tangzhong and other dough ingredients, besides the butter. Knead for 6-8 minutes on medium-low speed; the dough should appear dry, but should still come together and gain strength.
If working by hand: use a spatula to mix tangzhong and all other dough ingredients, besides the butter, until evenly incorporated. Let rest for 10 minutes to let the gluten develop. Perform a bowl fold*, let sit in the fridge for an hour, and then knead for 8 minutes on the countertop, adding up to 2-3 tbsp flour as necessary to prevent sticking. Move the dough back to the bowl. - Add the butter. If using a stand mixer, just add in the softened butter 1 tbsp at a time while running on medium-low. Let the mixer run until the butter is fully incorporated, and for 2 additional minutes after that.
If kneading by hand, after the previous kneading step, rub the softened butter into the dough with a spatula. Once the dough is not too greasy to work, knead for an additional 3 minutes on the countertop, flouring more if necessary. - Leave covered at room temperature until ~doubled, 1-2 hours. Move to the refrigerator for 1 hour; the chilled dough is much easier to shape.
- While the dough is chilling, make the filling by creaming the butter with the sugar, cardamom, and salt.
- Shape the dough ball into a rectangle, and roll out fairly thin to about 7in x 18in (if you double the recipe, it should be 14in x 18in). The short side should be facing you.
- Spread the filling all over the rectangle, leaving about a 1/2 inch margin on the top and bottom (of the long dimension).
- Fold the bottom third of dough over the middle third, and then fold the top third over, forming a 7in x 6in rectangle. Chill the dough again in the fridge for 15-30 minutes as necessary.
- Cut down the length of the rectangle to get six equal dough strips. If you’d like to make twelve smaller buns, roll the rectangle to be a little wider, around 10in x 6in, and cut into twelve equal strips.
- Shape the dough strips into buns; see suggestions here. If making smaller buns, I like placing them in a muffin pan.
- Chill shaped buns for 10-15 minutes while preheating to 375F.
- Lightly brush buns with an egg (or cream) wash, and bake for 15-20 minutes or until softly browned.
*The bowl fold technique is extremely useful for home bakers without stand mixers; with a bit of planning (i.e. not adding your high-fat ingredients until later), you can develop strong gluten networks without painfully kneading and/or adding way too much flour. I should write another post about bowl folding and related techniques, but in the meantime, here’s a very helpful King Arthur article.
Recipe: Molasses Cookies (makes ~24)
Ingredients:
- 140g sugar, divided into 70g and 70g
- 1 egg yolk
- 1 tsp vanilla extract
- 140g / 10 tbsp / 1.25 sticks butter, partially melted
- 170g / 6 ounces / 0.5 cup molasses
- 0.5 tsp salt
- 0.75 tsp baking soda
- 1.5 tsp cinnamon
- 0.5 tsp cardamom
- 1 inch knob of ginger, grated
- Optional: pinches of nutmeg, clove, and freshly ground black pepper
- 280g all-purpose flour
Steps:
- Beat 70g sugar, egg yolk, vanilla, and partially melted butter on low speed for 1-2 min until a slight amount of air is incorporated.
- Add molasses, mix until smooth.
- Add salt, baking soda, spices, and freshly microplaned ginger. Mix well.
- Add another 70g sugar (try to add evenly around the bowl) plus the flour and fold, just until most of the flour is incorporated.
- Let dough chill completely, at least 2 hours or overnight.
- Shape into balls (40g recommended; anywhere from 30-50g should work).
- Roll the tops of the balls in coarse sugar (turbinado, demerara, etc.).
- Place on baking sheet and chill again in fridge or freezer, while oven preheats to 375F.
- Bake until internal temp is around 185-195F (it can take up to 16 min if large cookies, 12 min if small; check at 10 min).